Building up your gear for your diving is not about adding the most expensive component to every category. It is about doing it in a way that ensures that your equipment does not cause you to be distracted once you are underwater. When your harness sits correctly, your trim is predictable, your hoses are positioned in a way that it can easily be deployed instinctively. When your exposure protection is appropriate for the water temperature you are diving in, naturally you will have more mental capacity for buoyancy, navigation and the dive itself.
That is particularly valuable when you move beyond occasional warm-water diving. A one-size-fits-all package can get you started, but regular divers soon develop different expectations as their experience grows, travel limits, different environment, more extreme form of diving.
Unlike Singapore’s warm conditions, cooler holiday destinations, wreck penetration ambitions, twin cylinders or sidemount. A well-planned system can evolve with those changes without forcing you to replace everything at once.
Start your custom scuba gear setup with the dives you actually do the most often.
The best starting point is not a particular brand or a colour. It is an honest picture of where and how you dive. A diver making boat dives in warm water with a single cylinder needs a different balance of comfort, lift and luggage weight from someone preparing for local training, cold-water exposure protection or technical diving.
Think about your usual cylinder type, whether you travel with your kit, the water temperatures you expect, and the diving you plan to do over the next two or three years. Also consider practical constraints. If you have limited shoulder mobility, a restrictive harness arrangement may become irritating long before it becomes unsafe. If you regularly carry equipment through airports, a heavy stainless-steel backplate may be less convenient than aluminium, even though the steel plate can reduce the lead you wear.
There is no universally correct configuration. The aim is a setup with clear purpose and sensible room to grow.
Build the foundation: buoyancy, harness and weighting
For divers who want a modular system, a backplate-and-wing BCD is often the most adaptable and preferred setup. The backplate provides structure, the wing provides buoyancy, and the harness connects the system to your body. Each part can be selected independently rather than accepting the compromises built into a fixed jacket BCD.
Choose a wing based on your specific setup
The design of the wing should support the specific cylinder configuration and the type of diving you are doing. Be it sidemount or backmount, the buoyancy of your exposure protection.
However it should not be used to compensate for poor weighting. A compact single-cylinder wing is usually cleaner and easier to control than an oversized wing used with one cylinder. Too much lift can create unnecessary drag and make it harder to manage air movement around the cylinder.
For twin cylinders, select a wing designed for the spacing and weight of the twins set. Technical diving configurations requires more lift for more cylinders, including stages where relevant, but they also benefit from a streamlined profile.
Sidemount requires a different approach again: the BCD, cylinder attachment positions and bungee routing must work as one system rather than as separate purchases.
Get harness fit right before changing hardware
A harness should hold the cylinder stable without restricting your movement. Shoulder straps that are too loose causes the cylinder to shift; straps that are too tight can make reaching valves or operating a drysuit awkward.
Waist strap placement, crotch strap length and D-ring positions all affect access to clipping points and how the kit behaves in the water.
Webbing harnesses are simple, durable and highly adjustable, though they take time to set up properly. Adjustable buckles may suit divers who share equipment, use different exposure protection across the year, or value easier donning due to past injuries limiting their mobility.
Neither is automatically better. The useful question is whether you can achieve consistent placement every time you enter the water.
Weighting should be treated as part of the whole configuration. A steel backplate, heavier regulator set and thick wetsuit can change the amount and location of lead required. Place weight where it helps your trim, then confirm it through a proper end-of-dive buoyancy check with a near-empty cylinder.
Regulators and hose routing needs to work together
A quality regulator must deliver reliably at the depths and conditions you dive, First-stage orientation, port placement, primary hose length, inflator hose route and pressure gauge position should all support natural movement as well as configuration
For a conventional single-cylinder recreational setup, a sensible configuration keeps the primary second stage easy to donate, the alternate accessible, the SPG protected and readable, and the inflator hose free from tight bends. Exact hose lengths depend on your body size, BCD style and cylinder valve position. Copying another diver’s measurements without checking fit is a common source of dangling hoses and awkward reaches.
Long-hose arrangements can be appropriate for divers using team-based procedures, overhead environments or technical training. They are not simply an upgrade to install for appearance. They should be paired with the relevant skills, stowage method and practice. Likewise, a necklace-mounted backup second stage is effective only when you understand its role in a donation procedure.
If you use a transmitter-equipped dive computer, check that its placement does not interfere with a hose, first-stage port or cylinder valve. An SPG remains a useful independent gas reference in many configurations, especially where redundancy and clarity matter.
Select personal equipment for fit, not specifications alone
Masks, fins and exposure protection can have a larger impact on comfort than many divers expect. A mask that seals reliably on your face is worth more than a particular lens shape or frame finish. Try it without using the strap: a gentle inhale should hold it in place without painful pressure. Facial hair, hood thickness and your usual water temperature can all affect the result.
Fin choice should match both your kicking style and the configuration you intend to use. Stiffer technical fins offer control and reverse-kick capability for many divers, but they can be tiring on long surface swims or for anyone with ankle limitations. Lighter travel fins reduce luggage weight, although they may offer less authority when wearing a drysuit or carrying additional cylinders.
Exposure protection deserves the same individual attention. A thin wetsuit that fits closely can be warmer than a thicker suit with flushing gaps. For cooler water, drysuit sizing must allow for appropriate undergarments without compressing insulation or limiting mobility. Check that you can reach your valves, clips and computer while wearing the full system, not just while standing in the changing area.
Configure instruments and accessories around task load
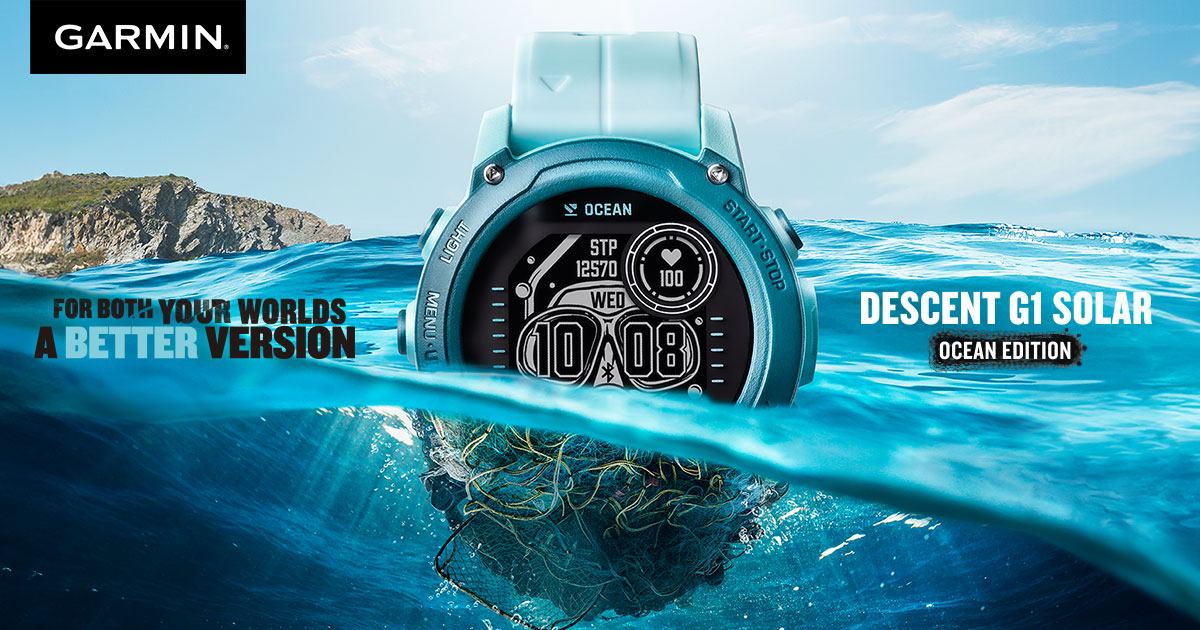
Your computer should be readable in the conditions you encounter and support the gas modes you genuinely need. A large-screen model may be ideal for low visibility, ageing eyes or technical plans, while a compact watch-style computer can suit frequent travel and everyday wear. What matters is that you can interpret it quickly and operate it confidently with the gloves you use.
Mount accessories where they are secure but available. A torch clipped to a chest D-ring should be easy to deploy without becoming a snag point. A DSMB and spool need a consistent storage location and should be practised before a current-swept ascent makes the task urgent. Reels, cutting tools, slates and backup lights are useful when they answer a real requirement; otherwise they add clutter and maintenance.
A good rule is that every item should have a purpose, a fixed place and a method of use. If any of those is unclear, leave it off the rig until it is not.
Test, adjust and document the setup
A custom build is refined in the water, not completed at checkout. Start with uncomplicated dives in familiar conditions. Check whether you remain horizontal without constant finning, whether you can reach every release and valve, and whether hoses or accessories move when you change position. Make one or two changes at a time so you can identify what improved the result.
Take photographs of your finished configuration and note hose lengths, D-ring positions, weighting and cylinder placement. This makes reassembly after servicing or travel much easier. It also gives a knowledgeable equipment partner a far clearer starting point if you need help troubleshooting trim or expanding the system.
At Deep Dive Supplies, custom builds are most useful when treated as a conversation about your body, environment and planned diving rather than a pre-set bundle. The right components are those that work together reliably and leave you free to enjoy the underwater world with confidence.